The Importance of Regular Cleaning
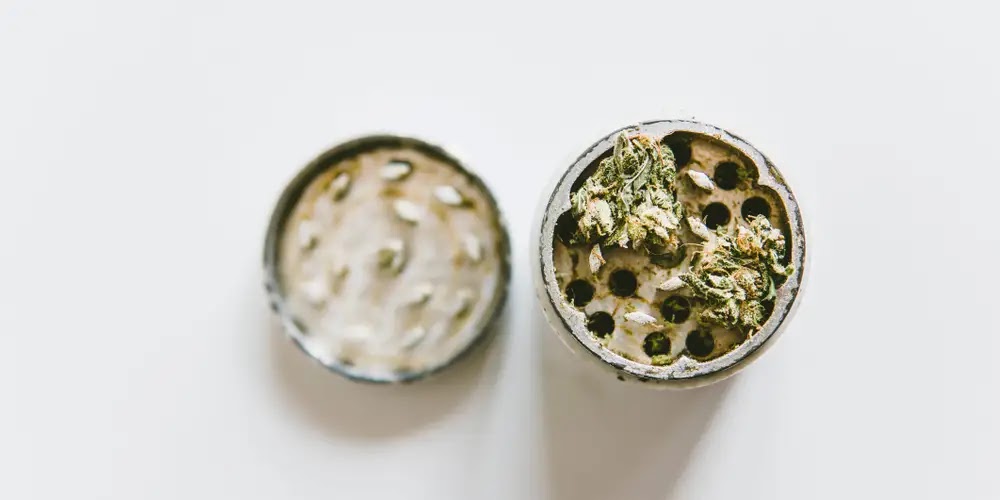
Understanding the significance of cleaning your weed grinder can encourage consistent maintenance. Here's why it matters:Enhanced Performance: A clean grinder ensures smooth and consistent herb grinding, avoiding clogging or jamming.
Hygiene and Safety: Residue buildup can harbor bacteria and contaminants, compromising the quality and safety of your herbs.
Longevity: Proper cleaning prevents wear and tear, preserving the grinder's functionality and lifespan.
Hygiene and Safety: Residue buildup can harbor bacteria and contaminants, compromising the quality and safety of your herbs.
Longevity: Proper cleaning prevents wear and tear, preserving the grinder's functionality and lifespan.
Essential Tools for Cleaning
Before initiating the cleaning process, assemble the necessary tools and materials:
- Soft-bristled brush or toothbrush
- Cotton swabs
- Isopropyl alcohol (rubbing alcohol)
- Warm water
- Mild dish soap
- Small bowl or container
- Paper towels or clean cloth
Detailed Cleaning Process
Step 1: Disassembly
Begin by carefully disassembling your weed grinder into its primary components: the top, bottom, and the teeth section. This disassembly allows for thorough cleaning of each part, ensuring no residue remains.
Step 2: Manual Removal of Residue
Utilize a soft-bristled brush or toothbrush to manually scrub away visible residue from the grinder's teeth and compartments. Focus on intricate areas, ensuring you remove any trapped particles or buildup.
Step 3: Soaking in Soapy Water
Fill a small bowl or container with warm water and add a few drops of mild dish soap. Place the disassembled grinder components into the soapy water, allowing them to soak for approximately 15-20 minutes. This soaking process helps soften stubborn residue, facilitating easier removal.
Step 4: Alcohol-Based Cleaning
For persistent residue or hard-to-reach areas, dip a cotton swab in isopropyl alcohol and carefully clean the affected sections. The alcohol effectively dissolves and removes sticky residue, ensuring a thorough cleaning process. However, exercise caution to avoid saturating the grinder with alcohol.
Step 5: Rinsing and Drying
After cleaning, rinse each grinder component under running water to remove any soap or alcohol residue. Ensure thorough rinsing to eliminate all cleaning agents. Once rinsed, pat each component dry using a paper towel or clean cloth. Allow the parts to air dry completely before reassembling to prevent moisture-related issues.
Maintenance and Best Practices
- Frequency: Aim to clean your weed grinder regularly, ideally after each use or when noticeable residue accumulates.
- Storage: Store your clean grinder in a cool, dry place to prevent exposure to moisture or contaminants.
- Avoid Harsh Chemicals: Refrain from using abrasive cleaners or harsh chemicals, as they can damage the grinder's material and compromise functionality.
- Regular Inspection: Periodically inspect your grinder for signs of wear, damage, or malfunction, addressing any issues promptly.
Conclusion
Cleaning your weed grinder is a crucial aspect of maintaining optimal functionality, hygiene, and longevity. By following this comprehensive guide and adopting regular cleaning practices, you can ensure your grinder remains in pristine condition, delivering consistent performance and enhancing your overall herb consumption experience.
Read Also: What is a Philosothon? - A Detailed Guide

Comments
Post a Comment